IoT Tracking Device - ESP32 (Part 1)
A Tutorial on Connecting ESP32 to a Hotspot and Write Data
Want some music while reading? 🎵📻
Background
Today’s topic is a little bit different from the others, I’m not writing about software development but Internet of Things.
I’ve recently joined an interesting course about IoT, students from my school were going to Madrid, Spain for an IT seminar and teach other students how to create an IoT device. Our team chose to create a device that could check the temperature and GPS coordination, save the data into the database and display that on a website.
My responsibilities are:
- Connecting ESP32 to a hotspot
- Using the string messages of the temperature and coordination from other team
- Writing them into a text file on our server
So basically, I didn’t have to code in PHP, my teammates who were responsible for the displaying data on the website should. Instead, I had to learn how to use Arduino - an open-source software for building digital devices - write some C++ code to make the ESP32 work and that’s it!
ESP32
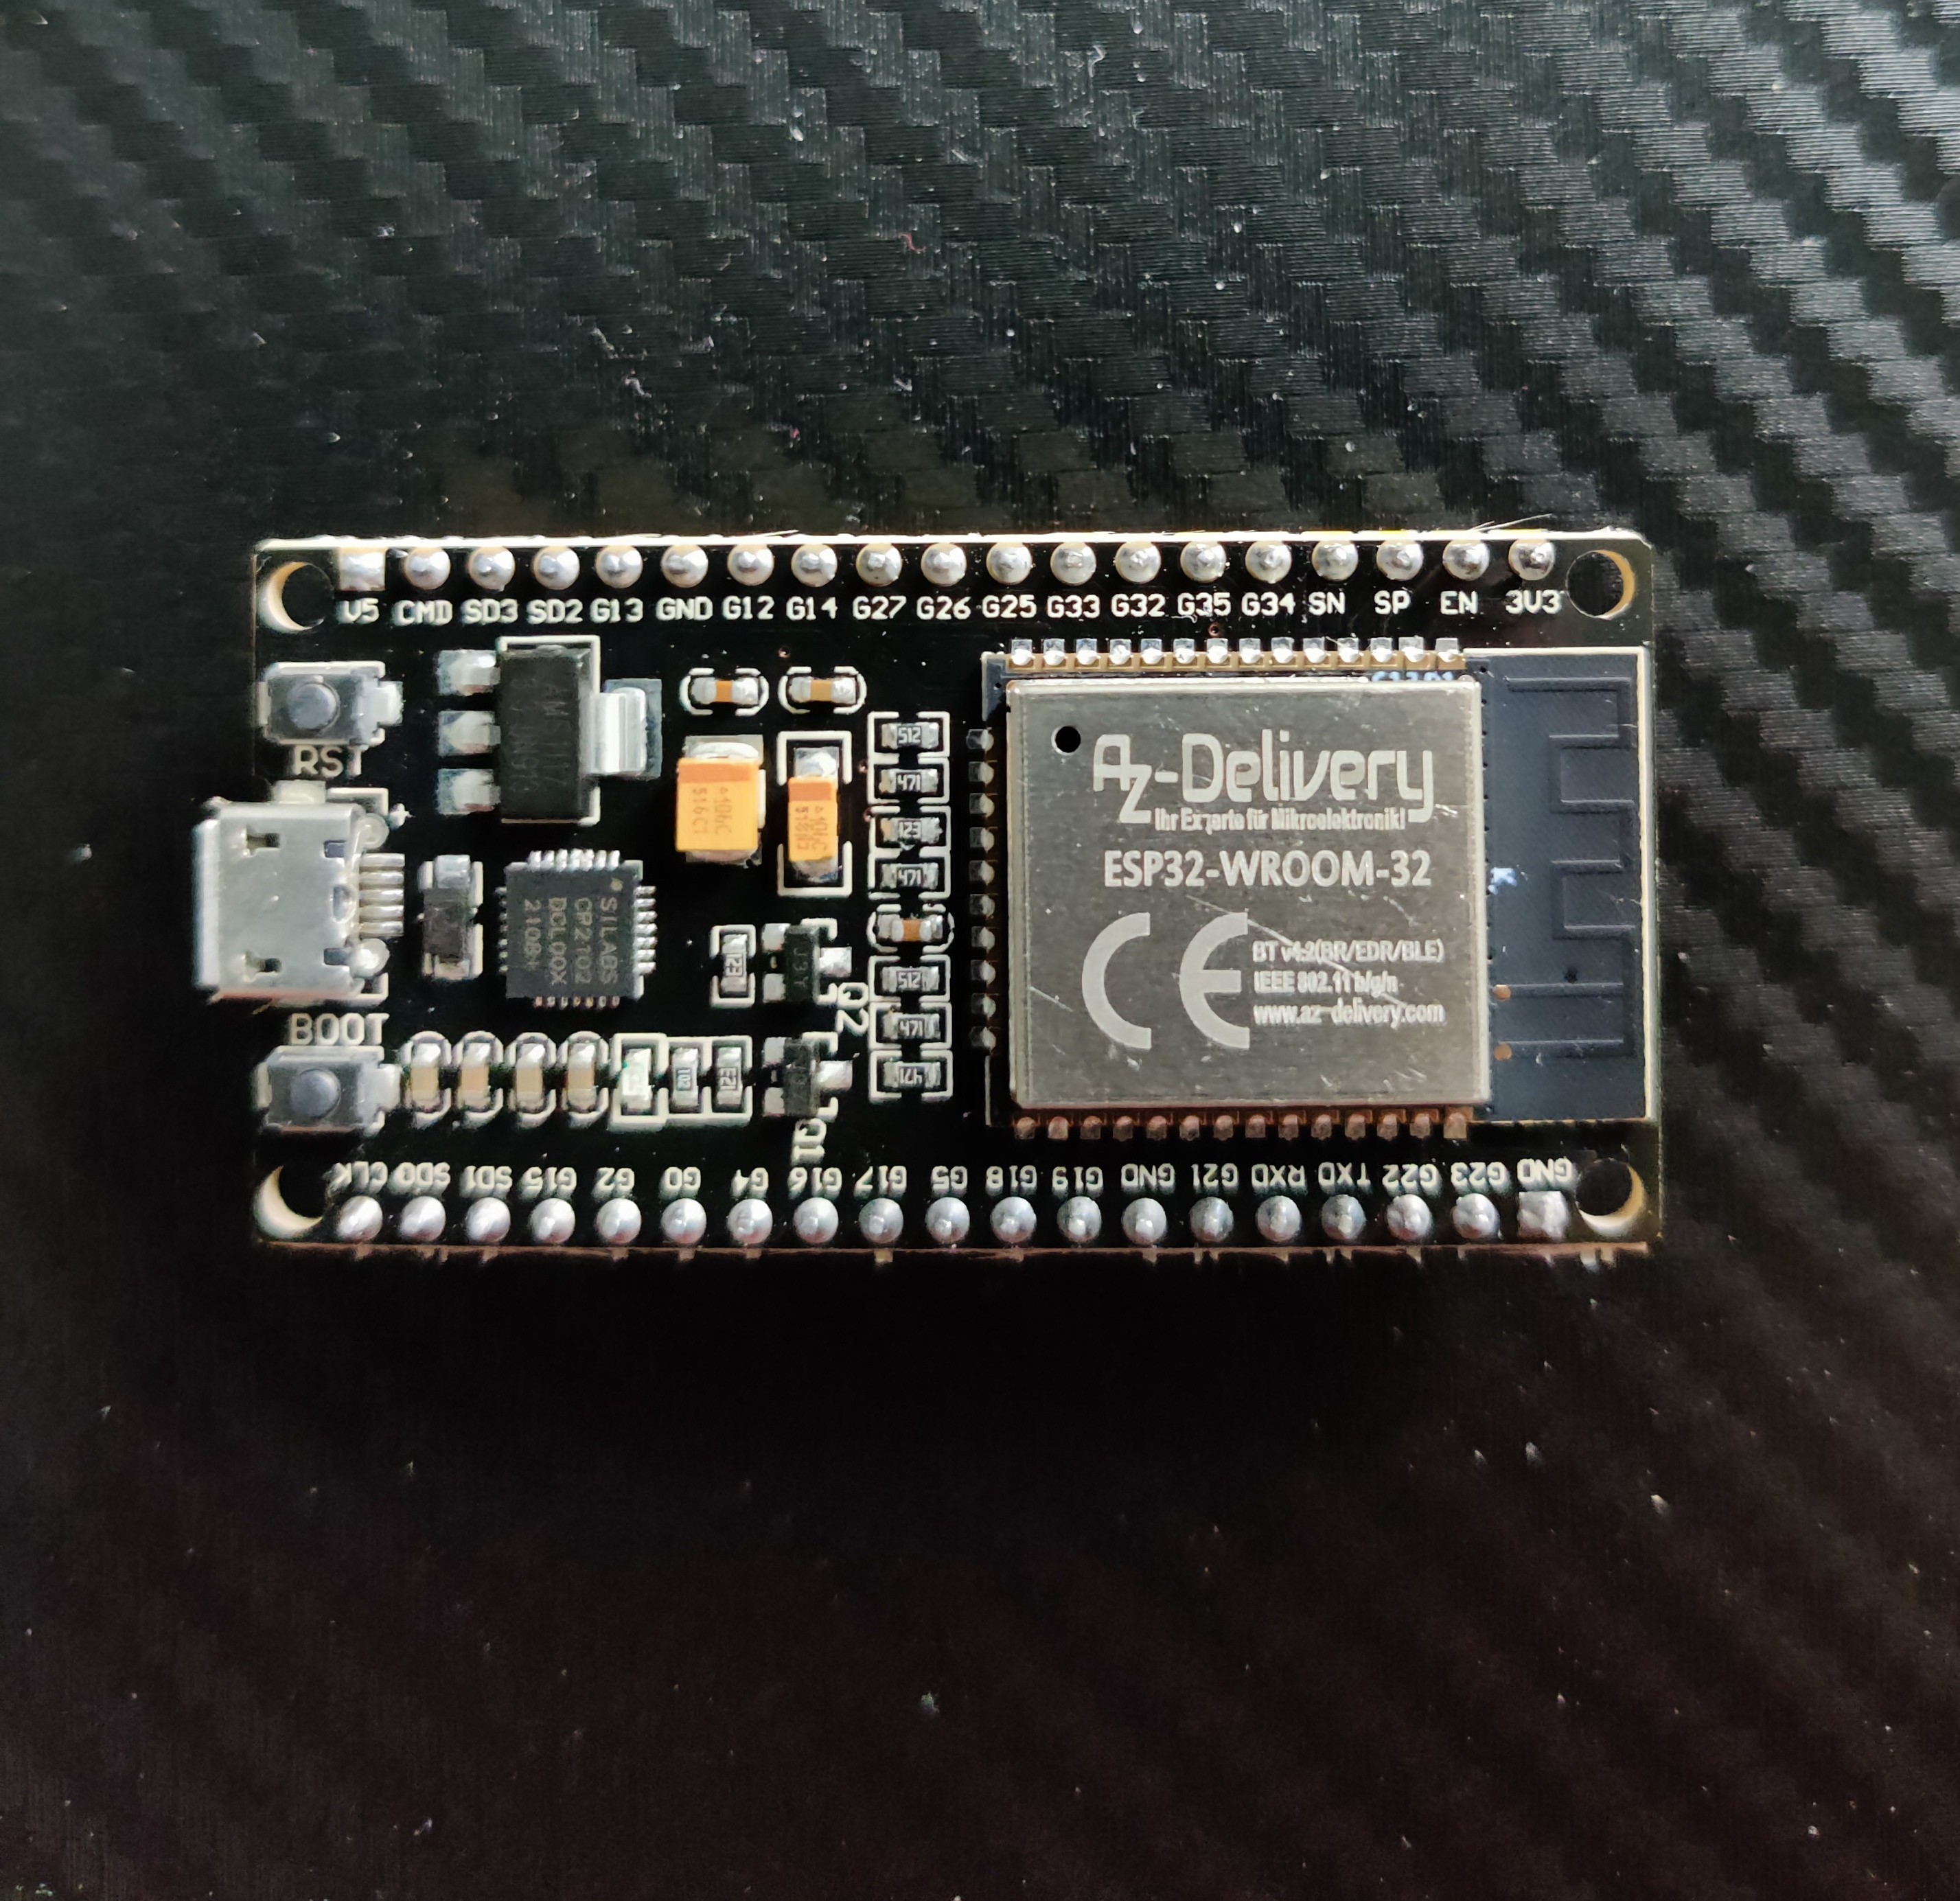
Let’s check out what is ESP32. ESP32 - created by Espressif Systems - is a low-cost, low-power system on a chip (SoC) series with Wi-fi & dual-mode Bluetooth capabilities.
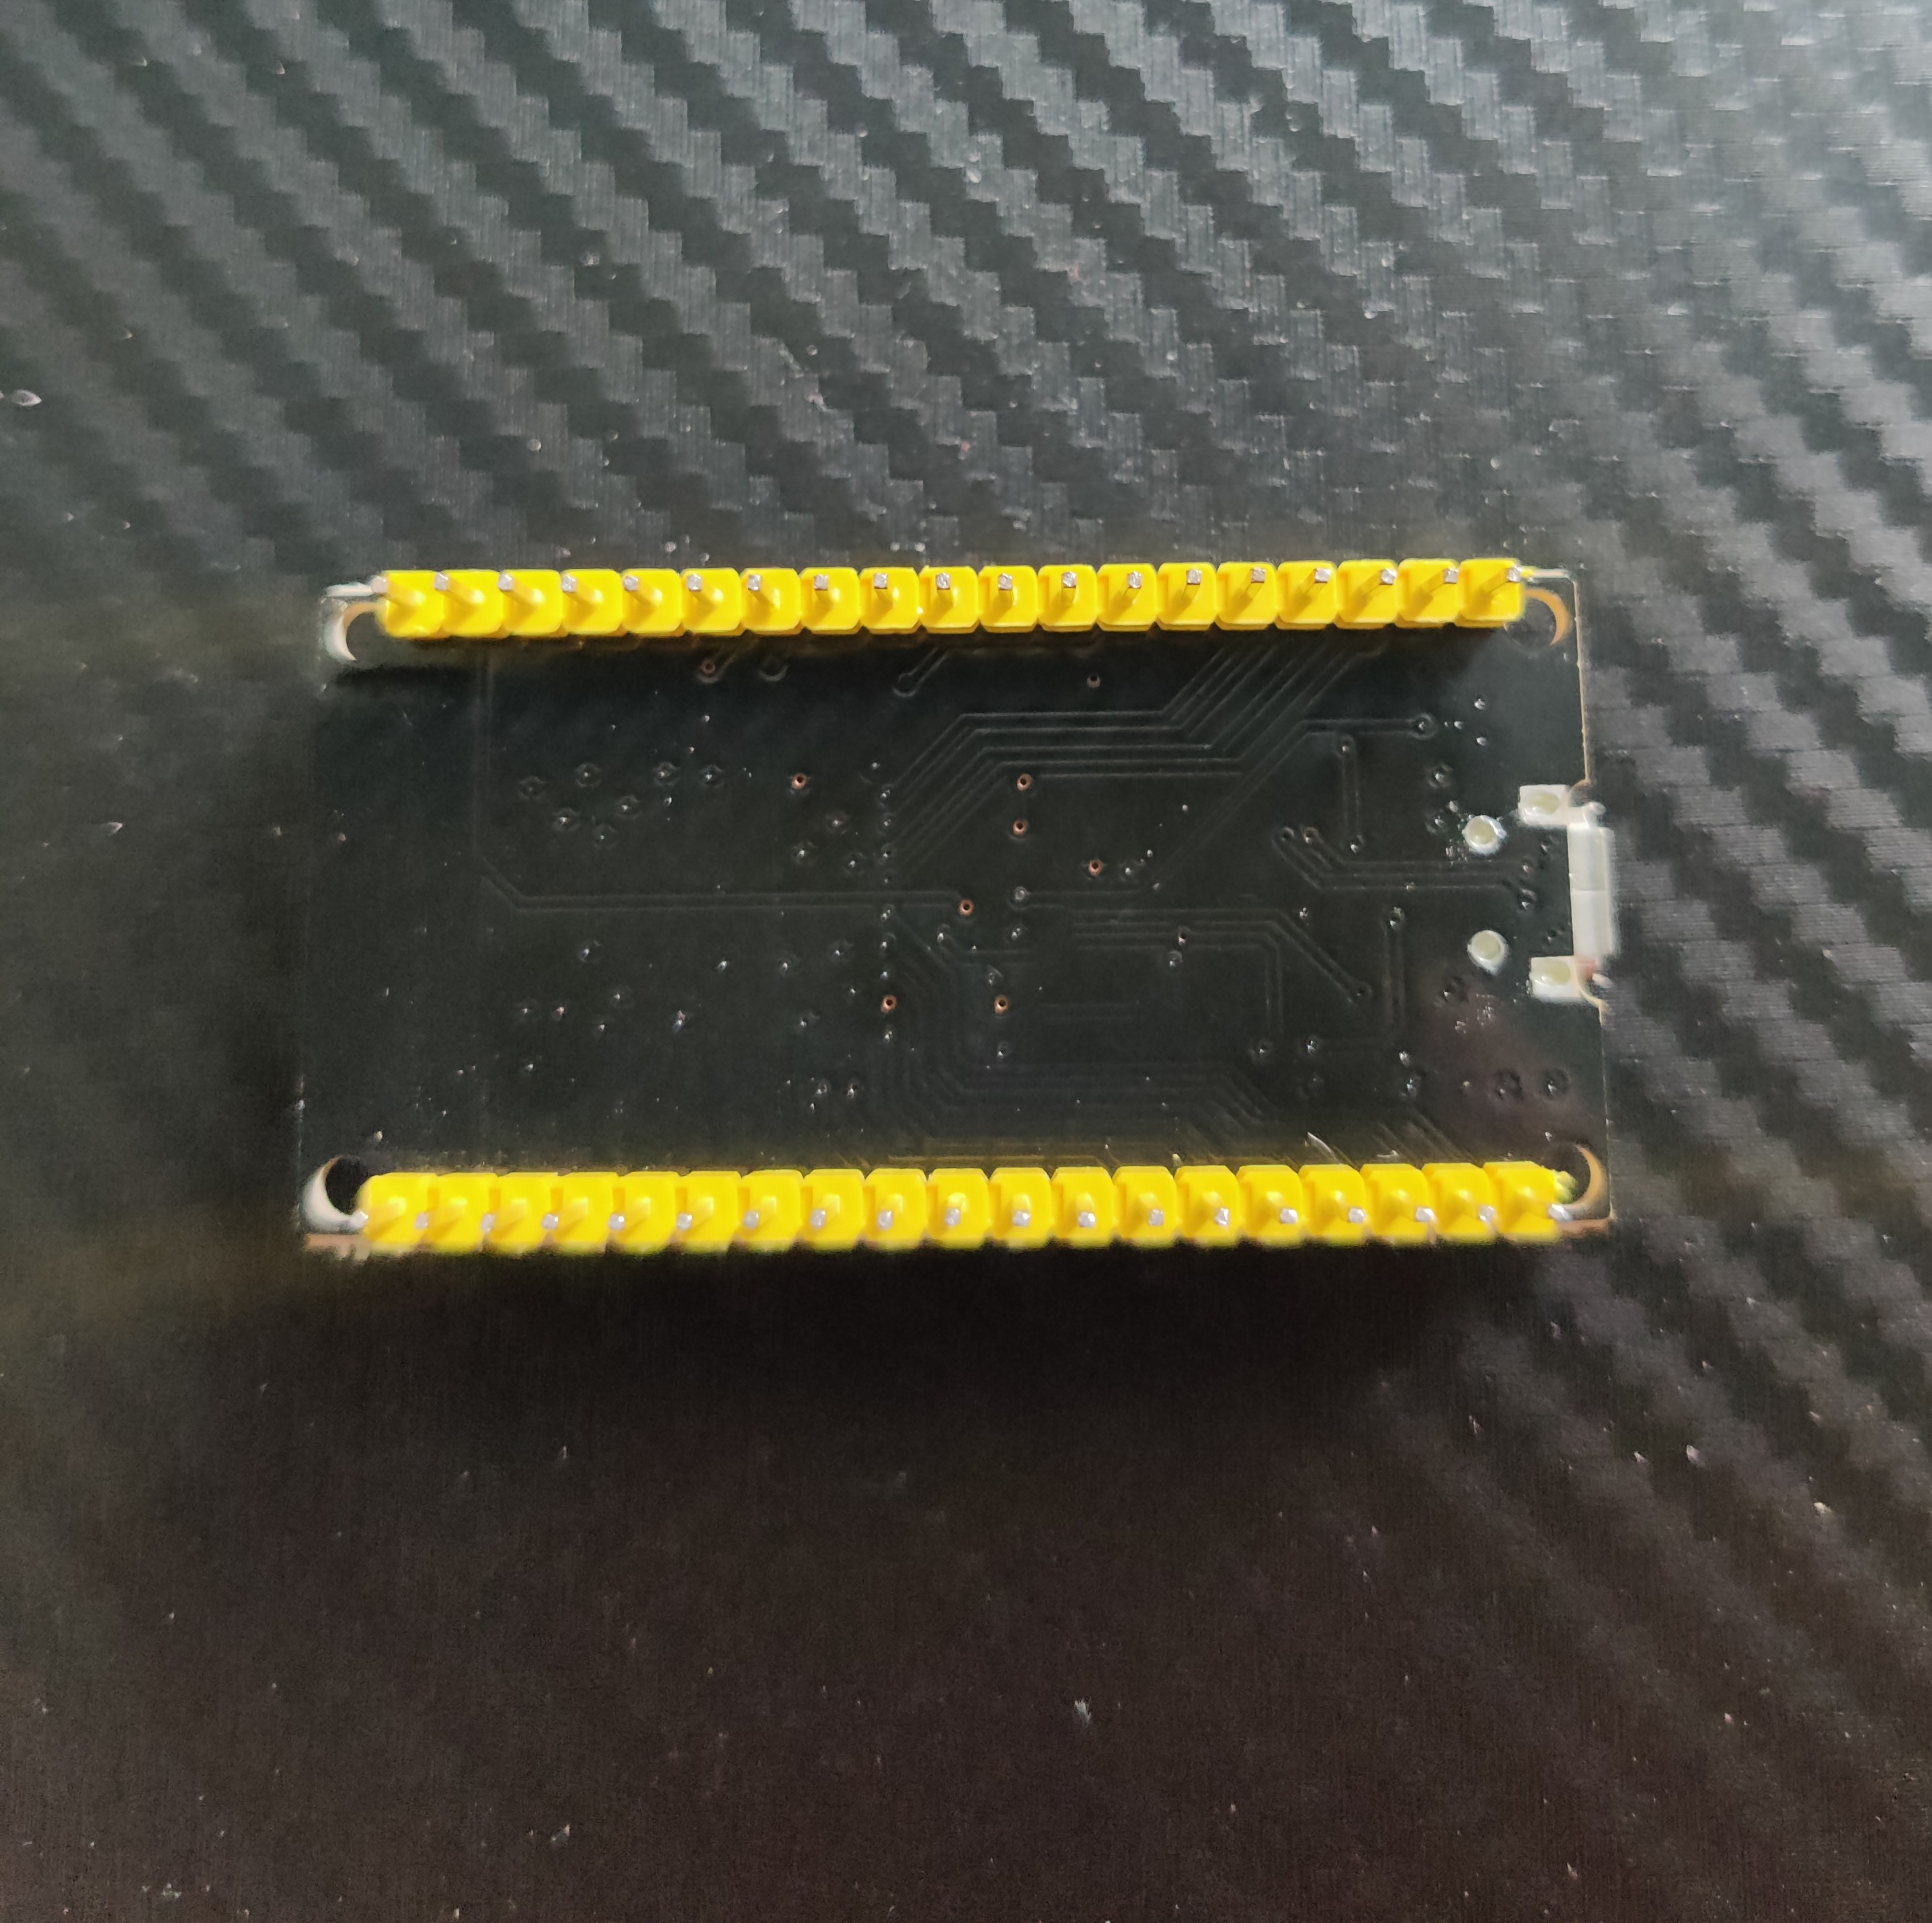
Since ESP32 has Wi-fi integrated, it could connect to a hotspot and transmit data. This is how it looks like:


If you want to setup ESP32 in Arduino, you could follow this instruction
How It Works?
So let’s jump into the code part. Arduino’s code usually consists of 2 main functions: setup() and loop(). There could also be other helper functions if needed. Below is the full final code
| |
Variables
| |
So, the first part of the code contains all of the necessary variables for our code. First, we need to include the Wifi.h and HTTPClient.h packages. They are for utilizing the wifi and sending http request. ssid and password variables are our hotspot’s name and password. Finally, the server is the PHP server that our teacher has set up for this project.
Setup function
| |
You might question what is this Serial that appears so many times in the code. It is used for communication between the Arduino board and a computer or other device.
So first of all, we start Serial process, then we connect to our hotspot. At this time, we tell the Serial to print out “Connecting to WIFI” just so we know that the connecting process has started. Then we use the while loop to check for the Wifi status, if it’s still not connected, we print only the “.” to let the use knows that the Wifi is still connecting. If the Wifi is connected, we start printing out our IP Address etc. as a confirmation that the setup has done.
Loop function
| |
After setting up the Wifi connection, we move on to the most important part of the code. In the loop() function, we now check again the Wifi status. We only execute the code if the Wifi is connected, otherwise, we print that the “Wifi is disconnected”.
We start by calling the HTTPClient as http. Then we use the server variable created before to setup an http server. After that, we should add a header to the request to let the server know that we’re sending only plain text to the server. Next, we start sending an http POST request and save the response status code to a variable. Here we also check the response only if the response code is bigger than 0, if it is bigger than 0, we start printing out the code and the response itself.
At the end of the code, we should delay this loop so that the request is sent every 10s, just so that the server is not overloaded with many requests.
Conclusion
It was really nice to get to know how to create an IoT device. This course is an eye-opener for me. I used to think that it’s really hard to create an IoT device without much coding knowledge but I was wrong. The process is quite simple and we can let our imagination guides us. I encourage everyone who’s interested in Robotics and IoT to learn more about Arduino and for example, ESP32. Happy exploring!